How to Create Tenders
How to Create Tenders
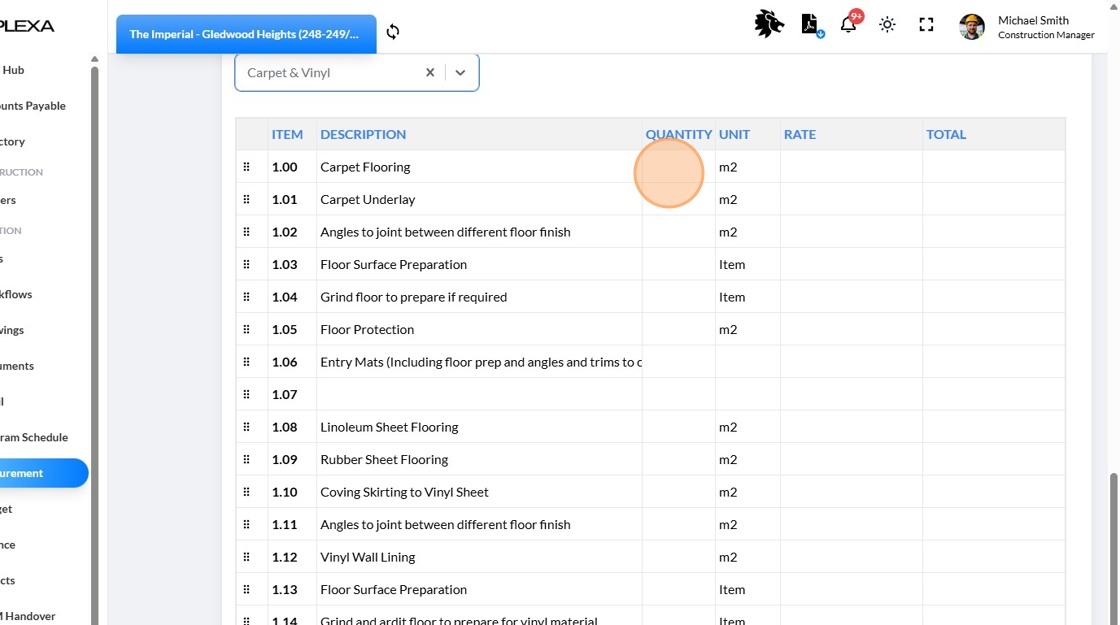
1. ENSURE YOUR BUDGET HAS BEEN COMPLETED BEFORE THIS STEP
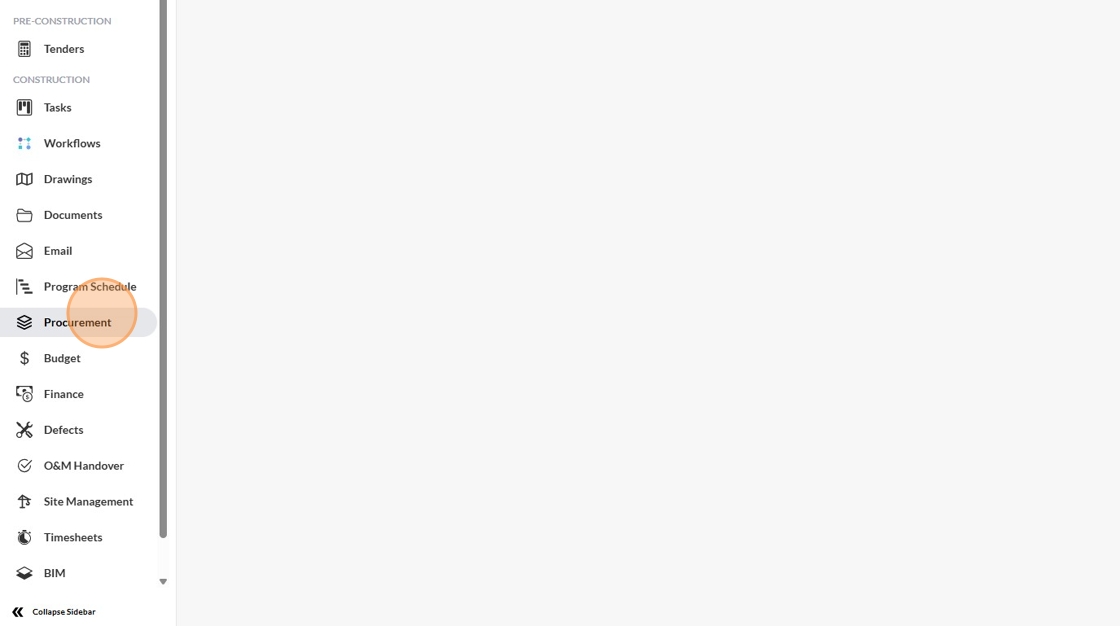
2. Click "Procurement"
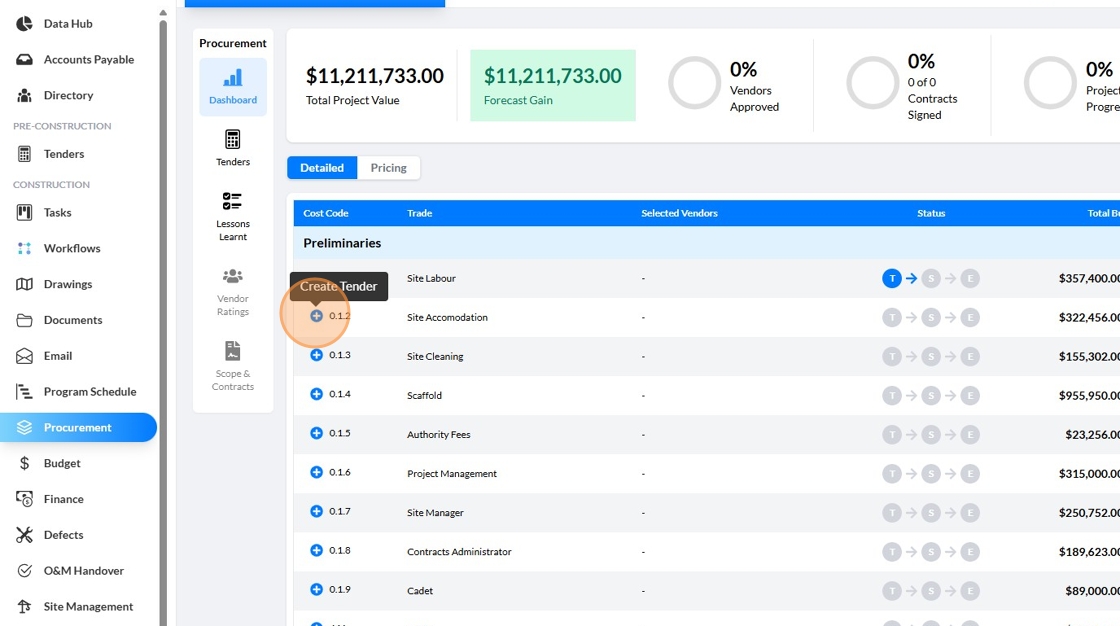
3. Click '+' to create tender
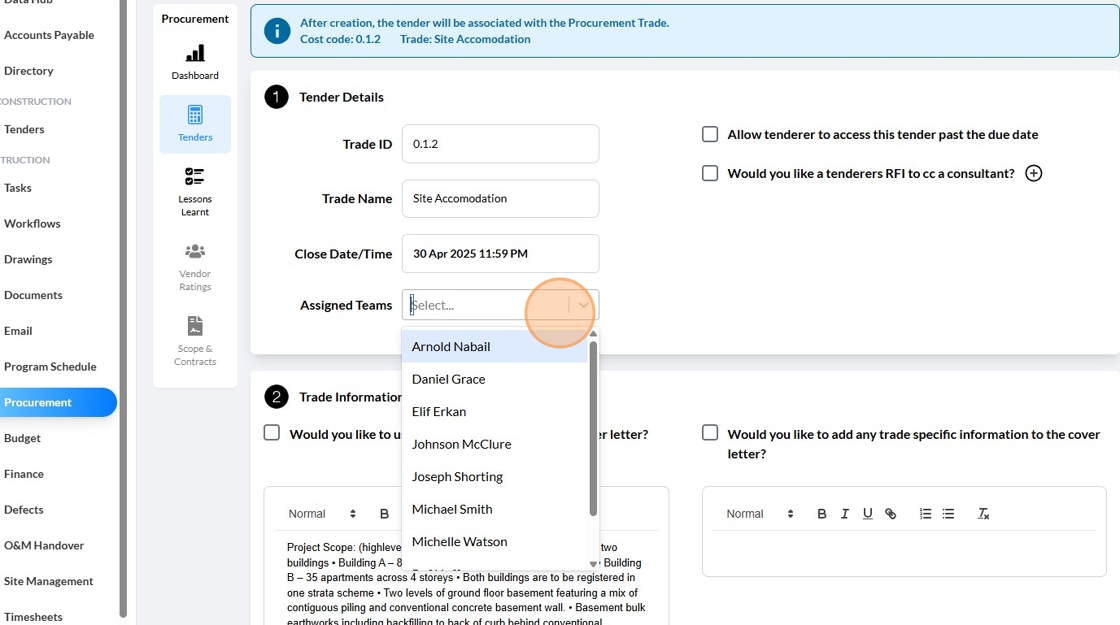
4. Click here to assign internal teams.
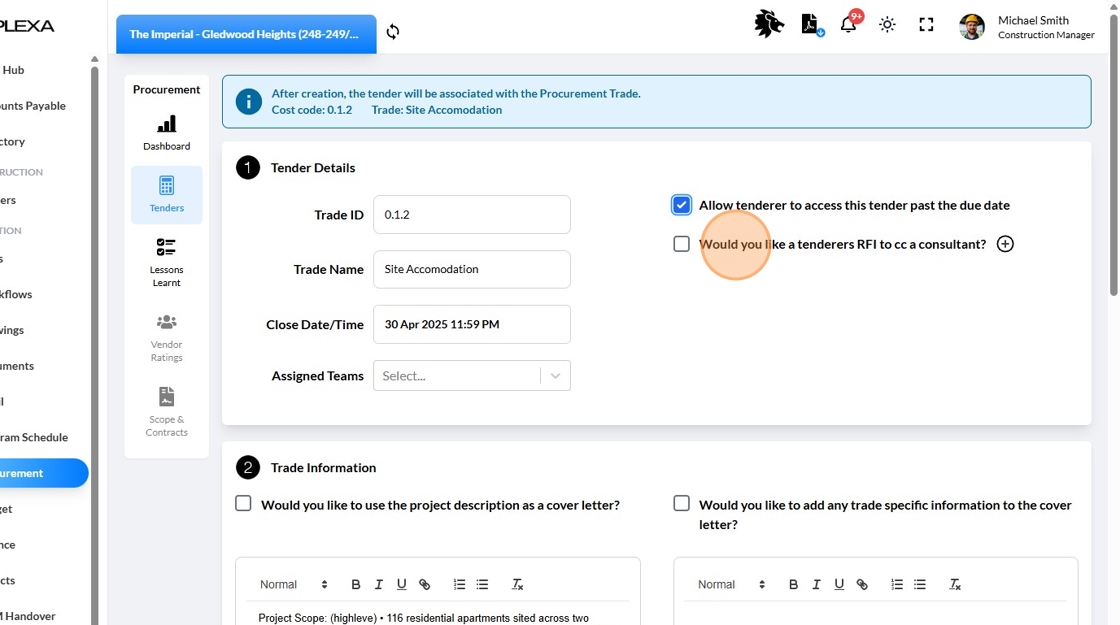
5. Click "Allow tenderer to access this tender past the due date" if required
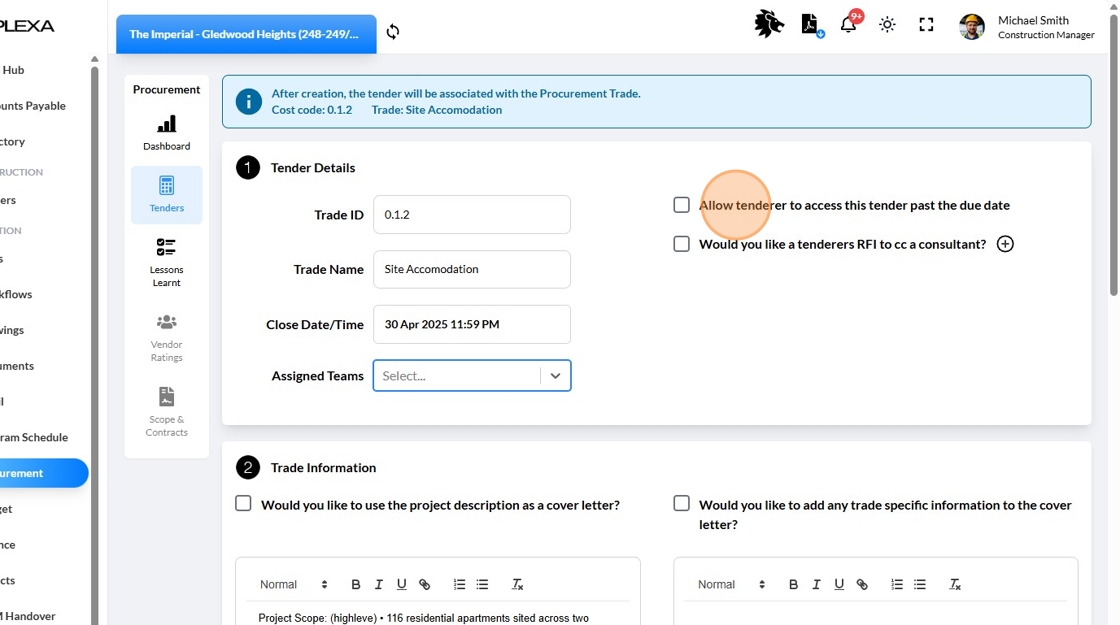
6. Click "Would you like a tenderers RFI to cc a consultant?" if required
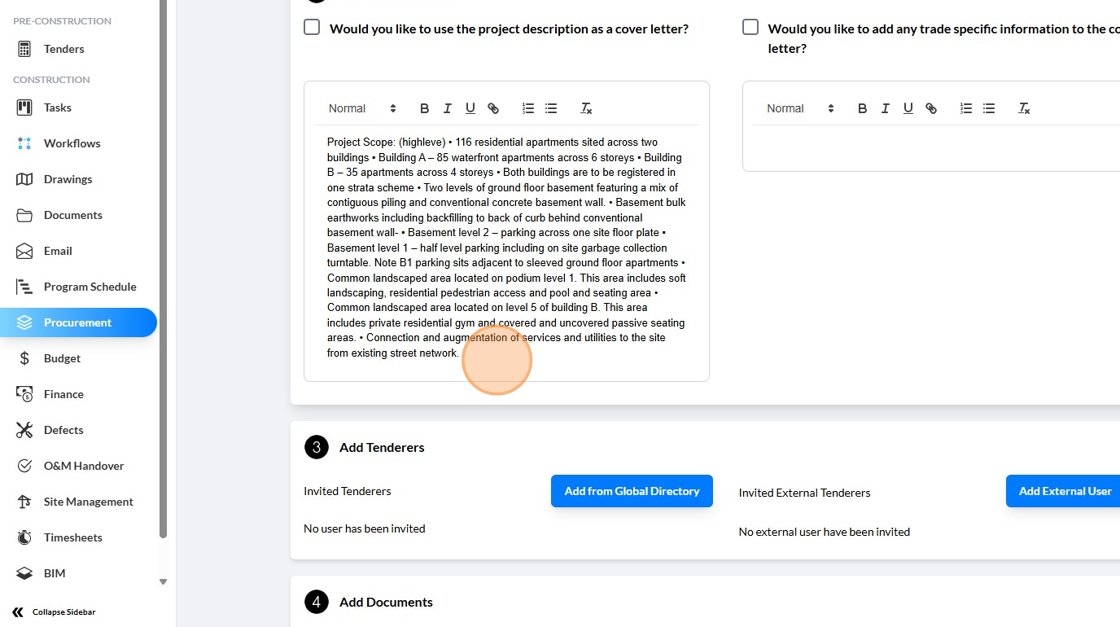
7. Click here to add description
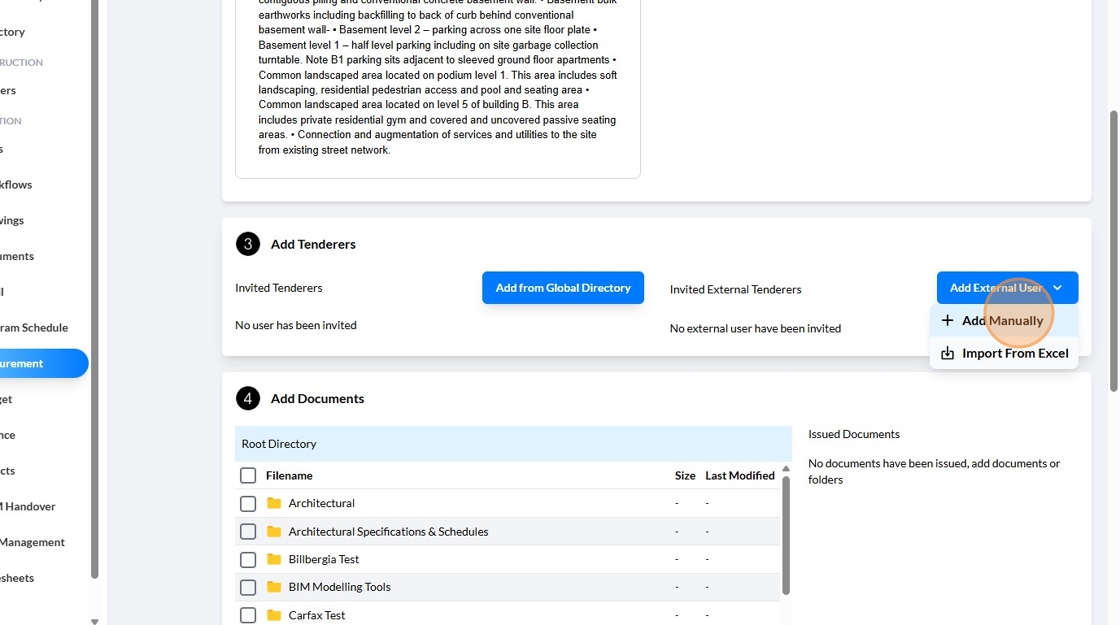
8. Click "Add from Global Directory"

9. Click "Add Manually" or import from excel for External Tenderers
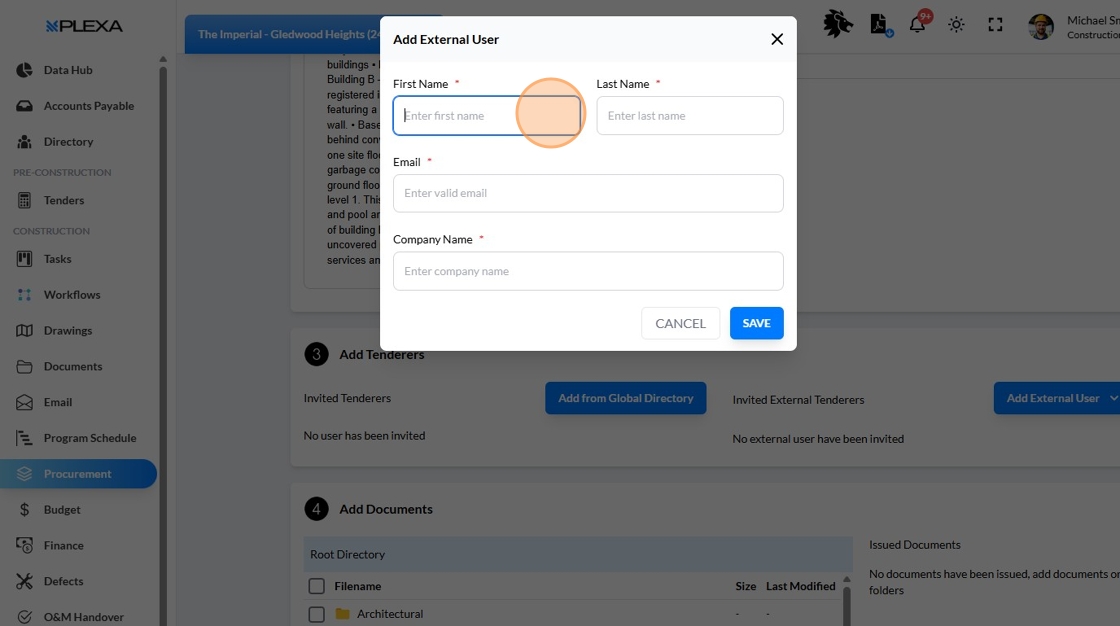
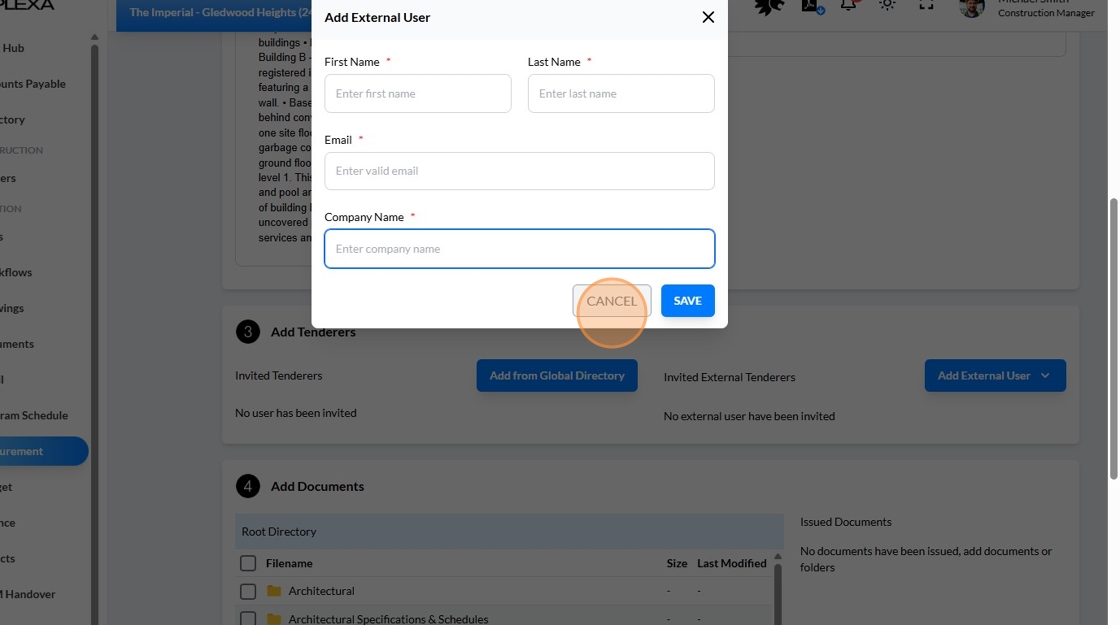
10. Click the "First Name*" field.
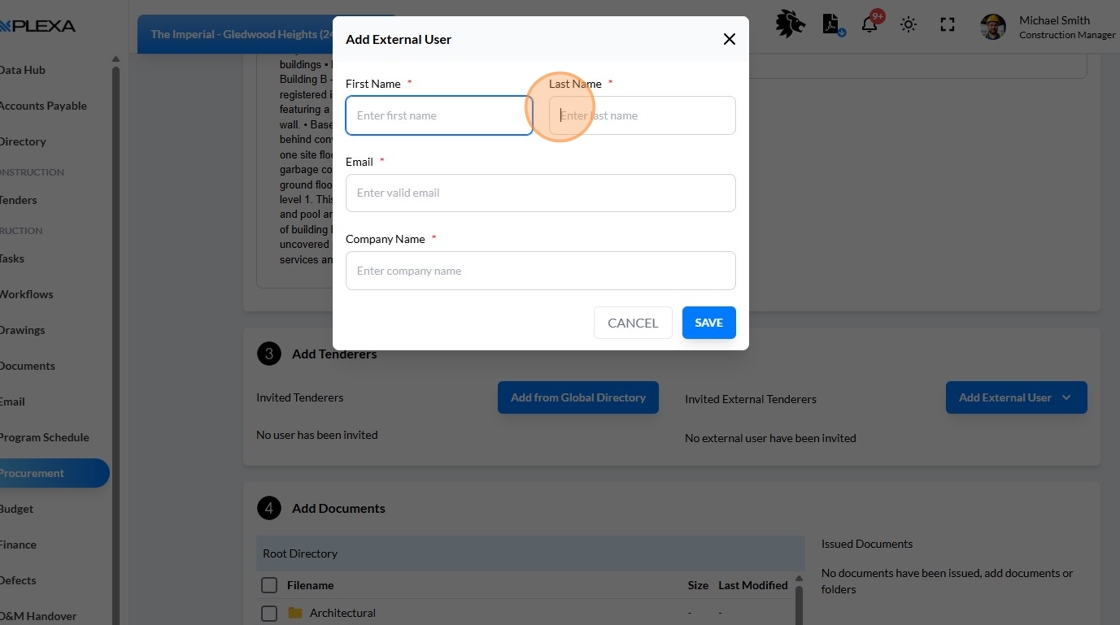
11. Click the "Last Name*" field.
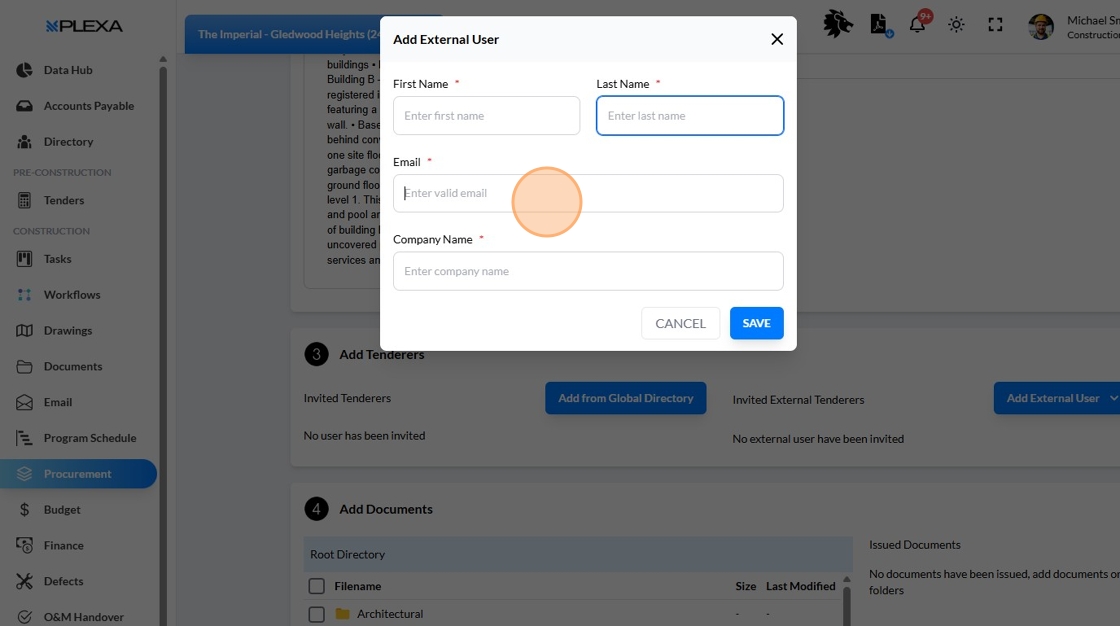
12. Click the "Email*" field.
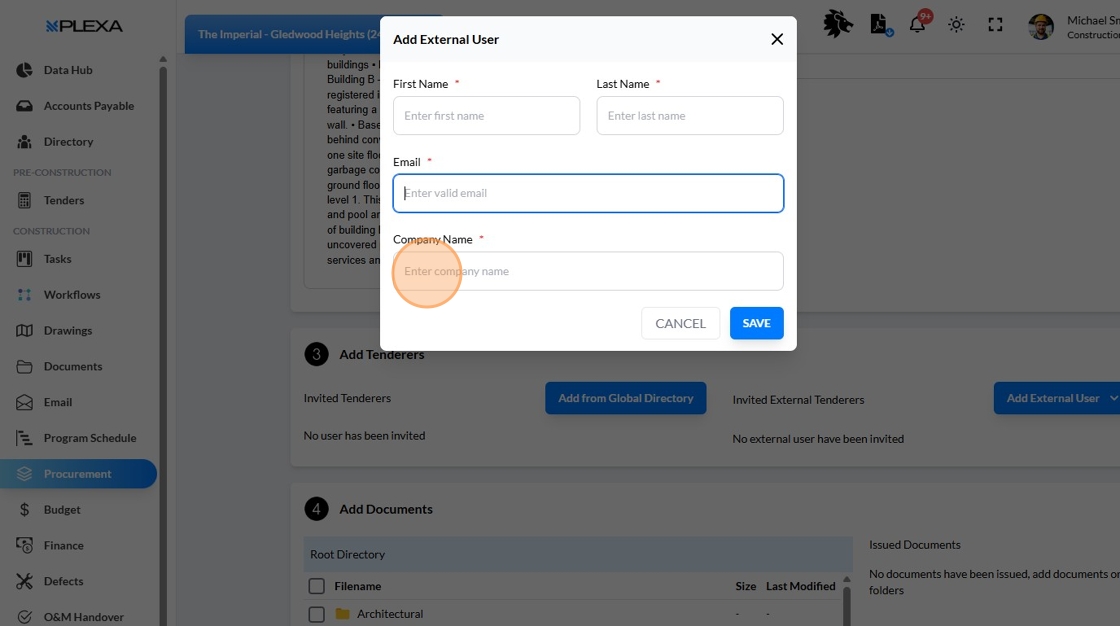
13. Click the "Company Name*" field.
14. Click "Save"
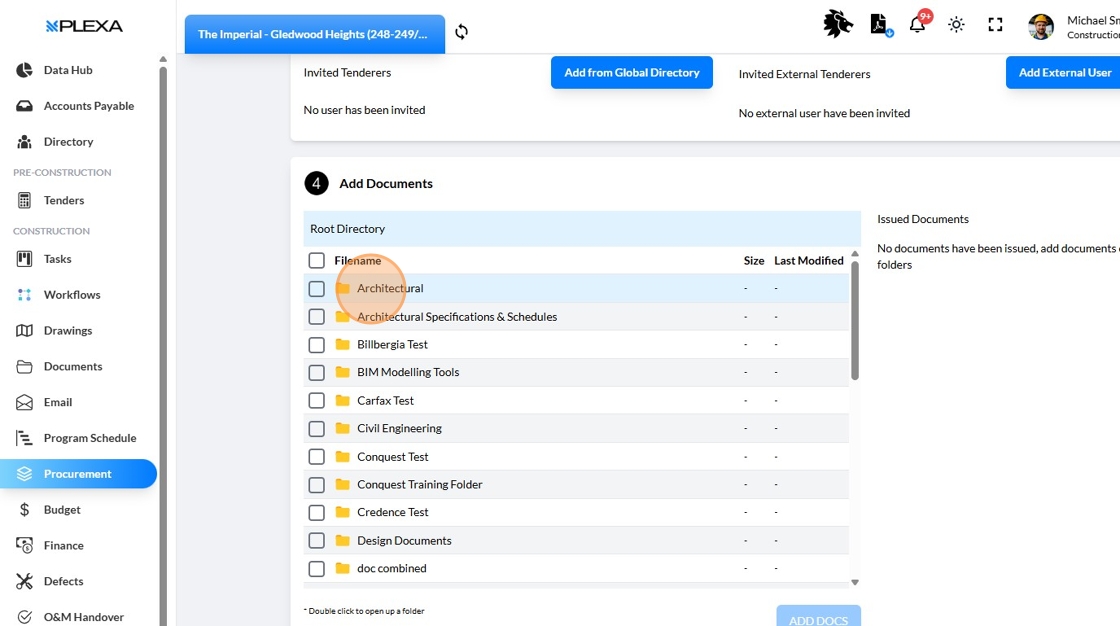
15. Double-click "Folder to add documents from within" or add folders
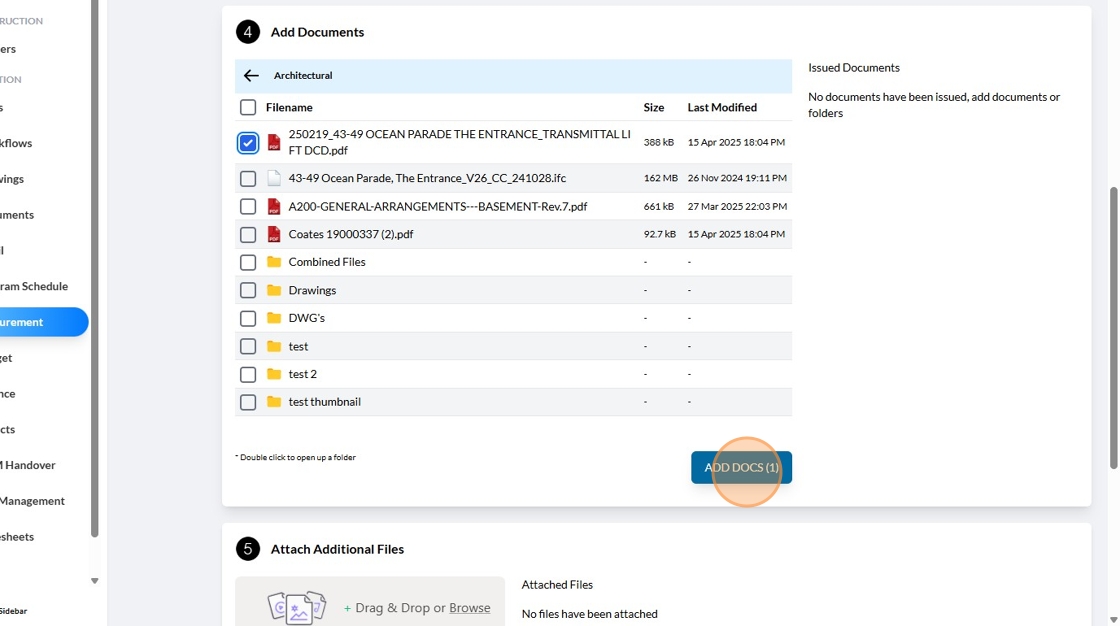
16. Click "Add Docs (1)"
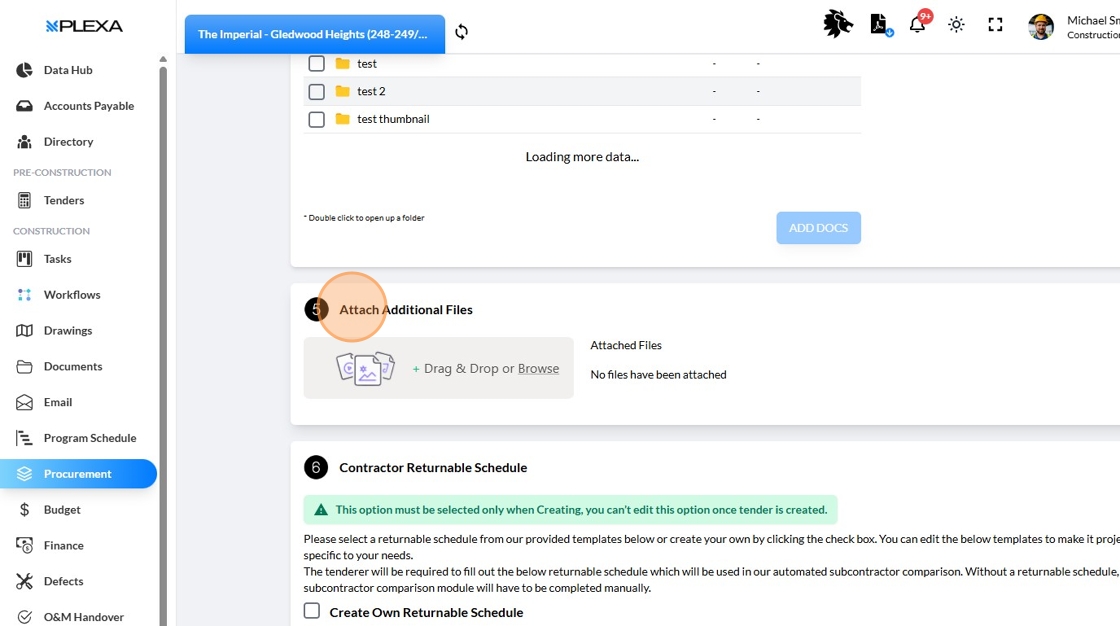
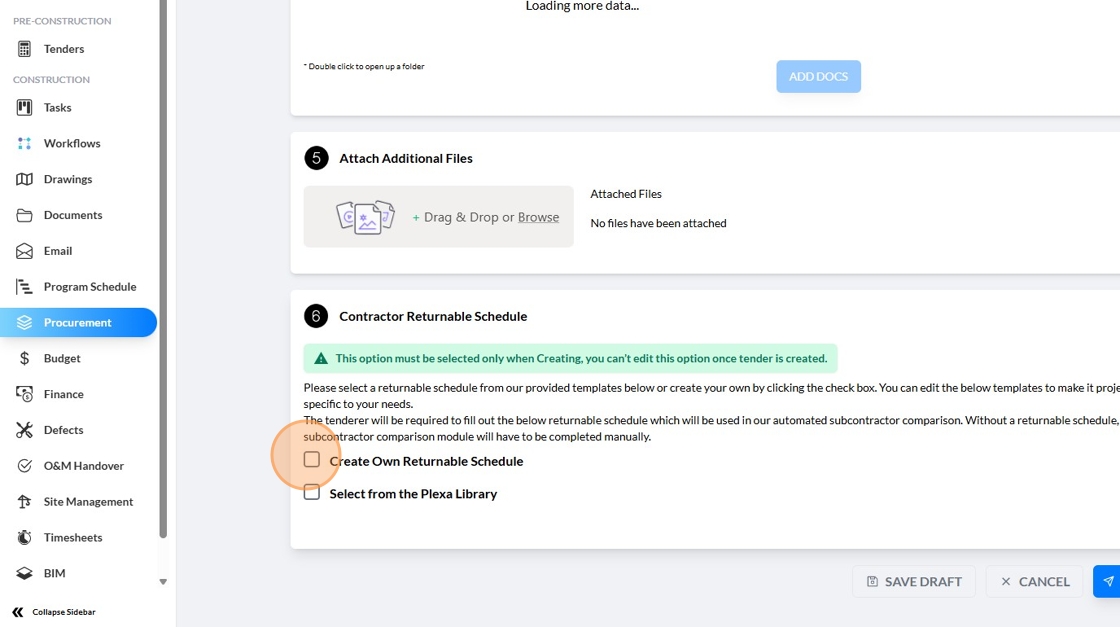
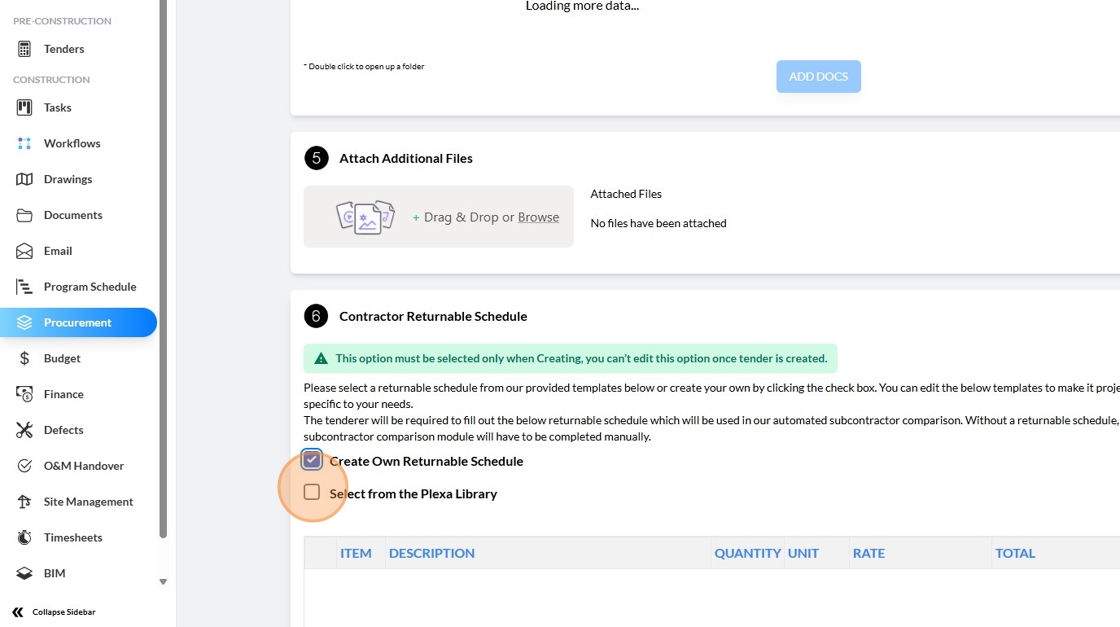
17. Click "Attach Additional Files"
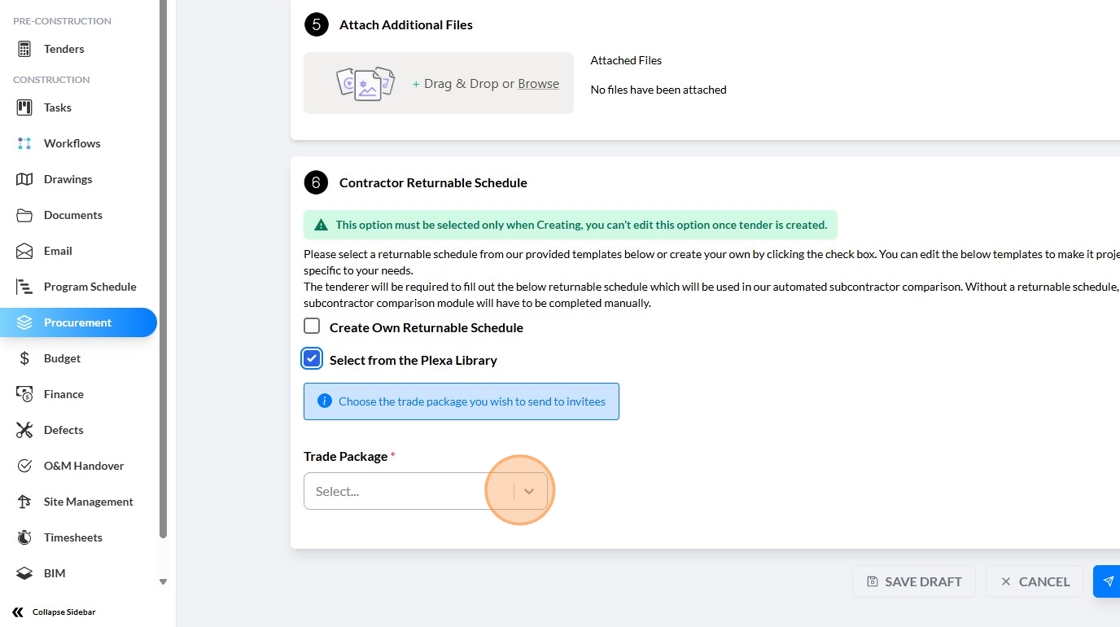
18. Click the "Create Own Returnable Schedule" field.
19. Click the "Select from the Plexa Library" field.
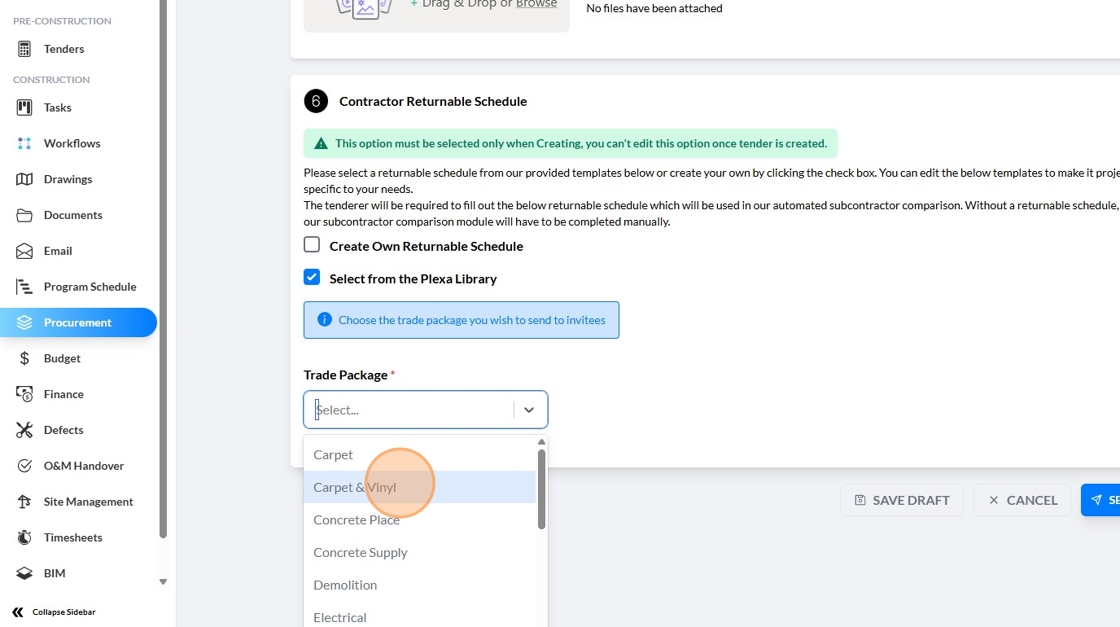
20. Click this icon.
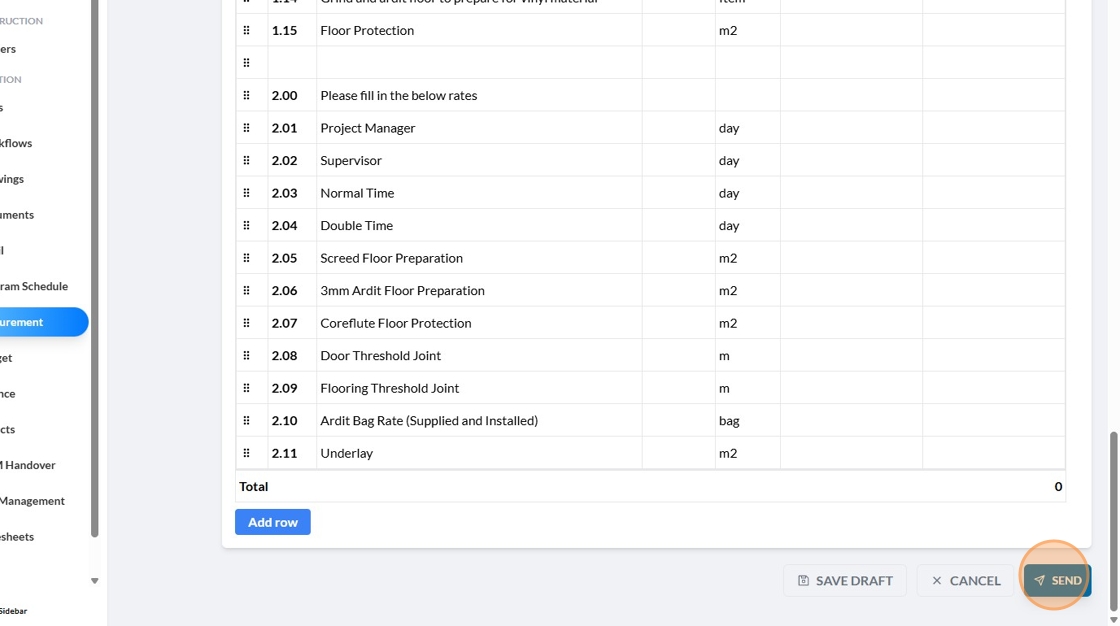
21. Click on "Selected trade"
22. Click here to fill in required details
23. Click "Send"